Photoshop Tutorial: Easily Change Product Colors Like a Pro

Photoshop Tutorial: Easily Change Product Colors Like a Pro
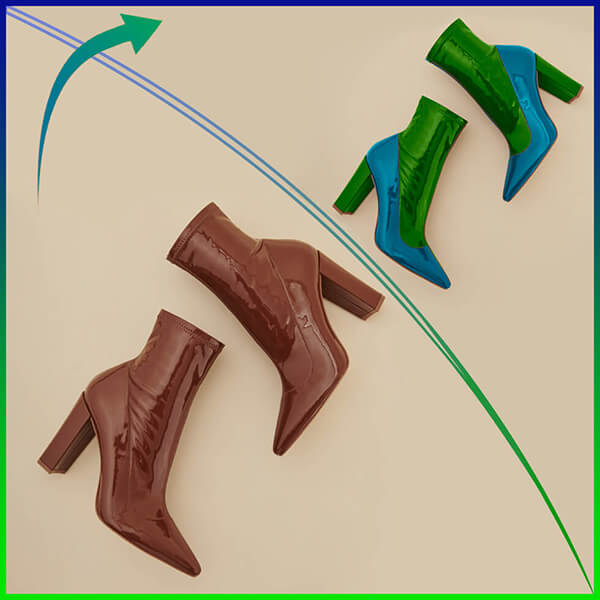
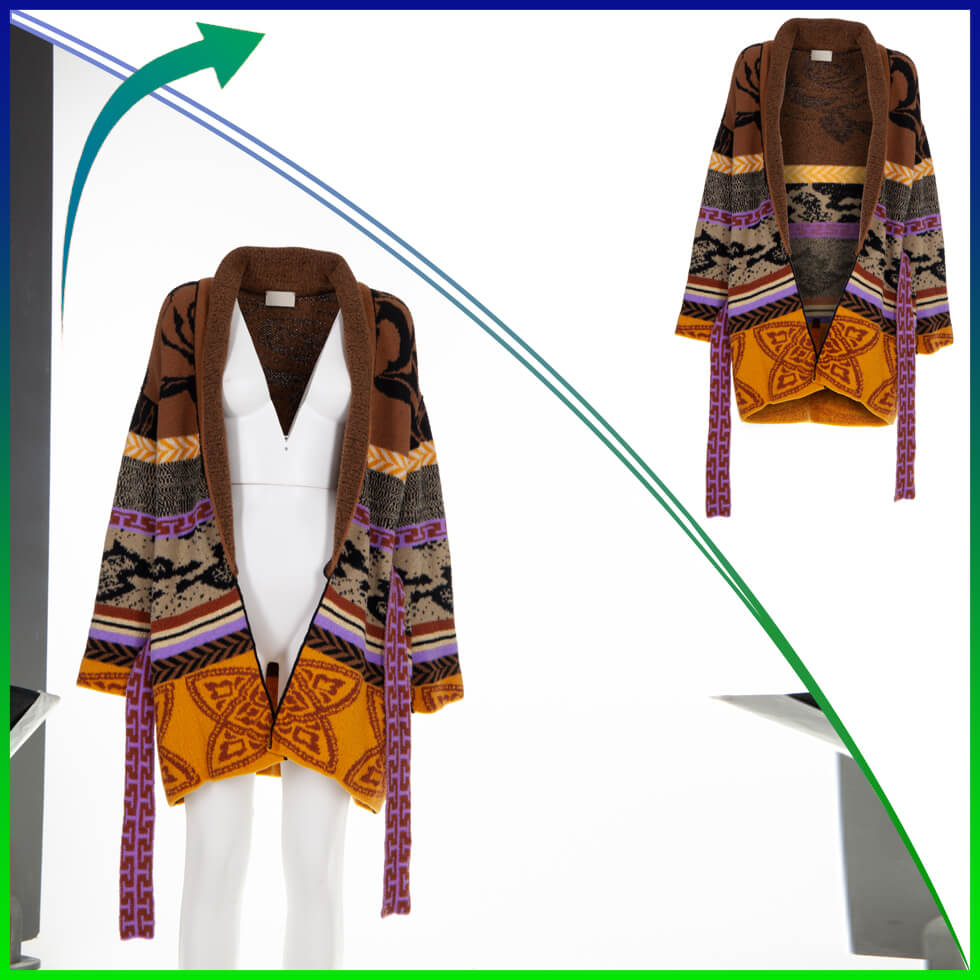
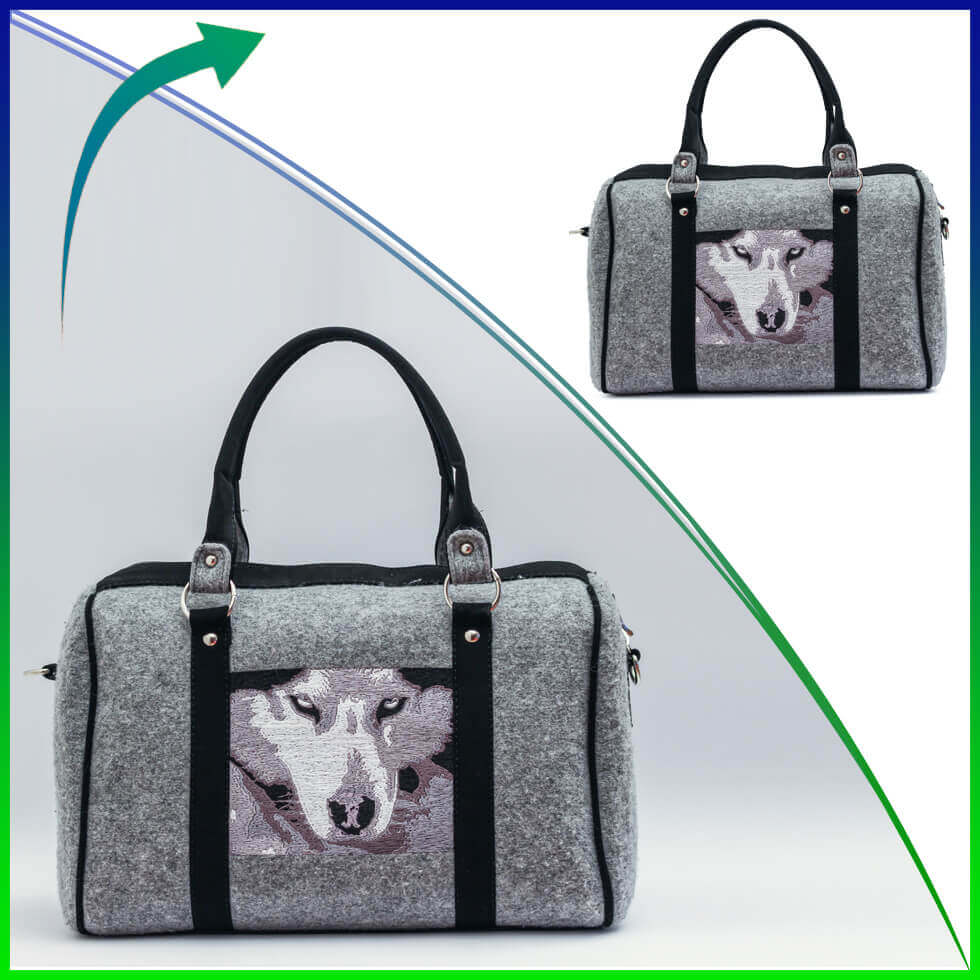
Changing product colors in Photoshop is a powerful way to create multiple variations of the same product without additional photoshoots. Whether you’re a designer, marketer, or photographer, this skill will save you time and resources while enhancing your creativity. This step-by-step tutorial will guide you through changing product colors like a pro using Adobe Photoshop.
Step 1: Open Your Product Photo in Photoshop
Launch Adobe Photoshop and load the product image you want to edit.
Go to File > Open, or drag and drop the image into the workspace.
Step 2: Duplicate the Background Layer
Right-click on the Background layer in the Layers panel and select Duplicate Layer. Rename it for easy reference.
This protects your original image and allows you to work non-destructively.
Step 3: Select the Product
Use the Quick Selection Tool (W) from the toolbar to select the product area you want to recolor.
Adjust the selection by adding or subtracting areas with the tool. Zoom in (Ctrl + +) for precision.
Refine the selection by clicking on Select and Mask in the top menu. Adjust the Feather and Edge Detection sliders for smoother edges.
Step 4: Create a Hue/Saturation Adjustment Layer
With the product area selected, go to Layer > New Adjustment Layer > Hue/Saturation.
This creates a new adjustment layer linked to your selection, allowing you to modify the color non-destructively.
Step 5: Adjust the Hue, Saturation, and Lightness
In the Properties panel of the Hue/Saturation layer:
Adjust the Hue slider to change the color of the product.
Modify the Saturation slider to increase or decrease the intensity of the color.
Use the Lightness slider to fine-tune the brightness.
Observe the changes in real time and stop when you achieve the desired color.
Step 6: Fine-Tune the Mask
If parts of the image outside the product were affected, click on the layer mask of the Hue/Saturation layer.
Use the Brush Tool (B) with a black foreground color to erase the effect from unwanted areas.
Switch to white to reapply the effect if needed.
Step 7: Save Your Work
Save the edited image by going to File > Save As.
Choose a format:
PSD: Retains layers for future edits.
JPEG/PNG: For sharing or publishing.
Tips for Best Results
Use high-resolution images for better detailing and smoother edits.
Experiment with the Colorize checkbox in the Hue/Saturation panel for a uniform color shift.
For precise color changes, use Selective Color Adjustment Layers or the Replace Color tool.
Mastering the art of changing product colors in Photoshop opens up endless possibilities for creativity and efficiency. Whether you’re showcasing different product variations or testing new color concepts, these techniques will ensure professional results every time.
Have any questions or Photoshop tips to share? Drop them in the comments below!


